The model is a free model found on MyMiniFactory designed by user Printed Obsession.
Here is the link to the model: https://www.myminifactory.com/object/3d-print-helltaker-judgement-25cm-fanart-178167
Model Description:
Judgement is the final demon encountered in Helltaker, also serving as the final boss fight for the game. She is identified as the High Prosecutor of Hell.
Printer and resin used:
Elegoo Mars 2 Pro
eSun Rapid Resin UV ABS-Like Hard Tough High Impact - Gray
Paints:
Unless otherwise stated, all the paints are from the Army Painter D&D line of paints.
Steps and Planning:
I didn't take pictures of all the steps, like printing and cleaning the parts.
After printing, I washed the parts in 99% IPA in a pickle container, since this was my 2nd print with an SLA printer
there were some things I could have done better.
I only used the one wash and didn't let it dry enough.
Since then I did get the Elegoo Mercury Plus Wash and Cure station with 2 buckets, 1 for the initial clean, then another with cleaner IPA to get a deeper clean.
I also leave the prints out to dry properly before curing to avoid having a shine and having a crisper end result.
Once dry, I put the part in to cure.
I did my best in post processing to remove as much support marks as possible.
For this model it didn't bother me to leave some of those marks on, in areas like the pants, since the pants are going to be a leather type of colour.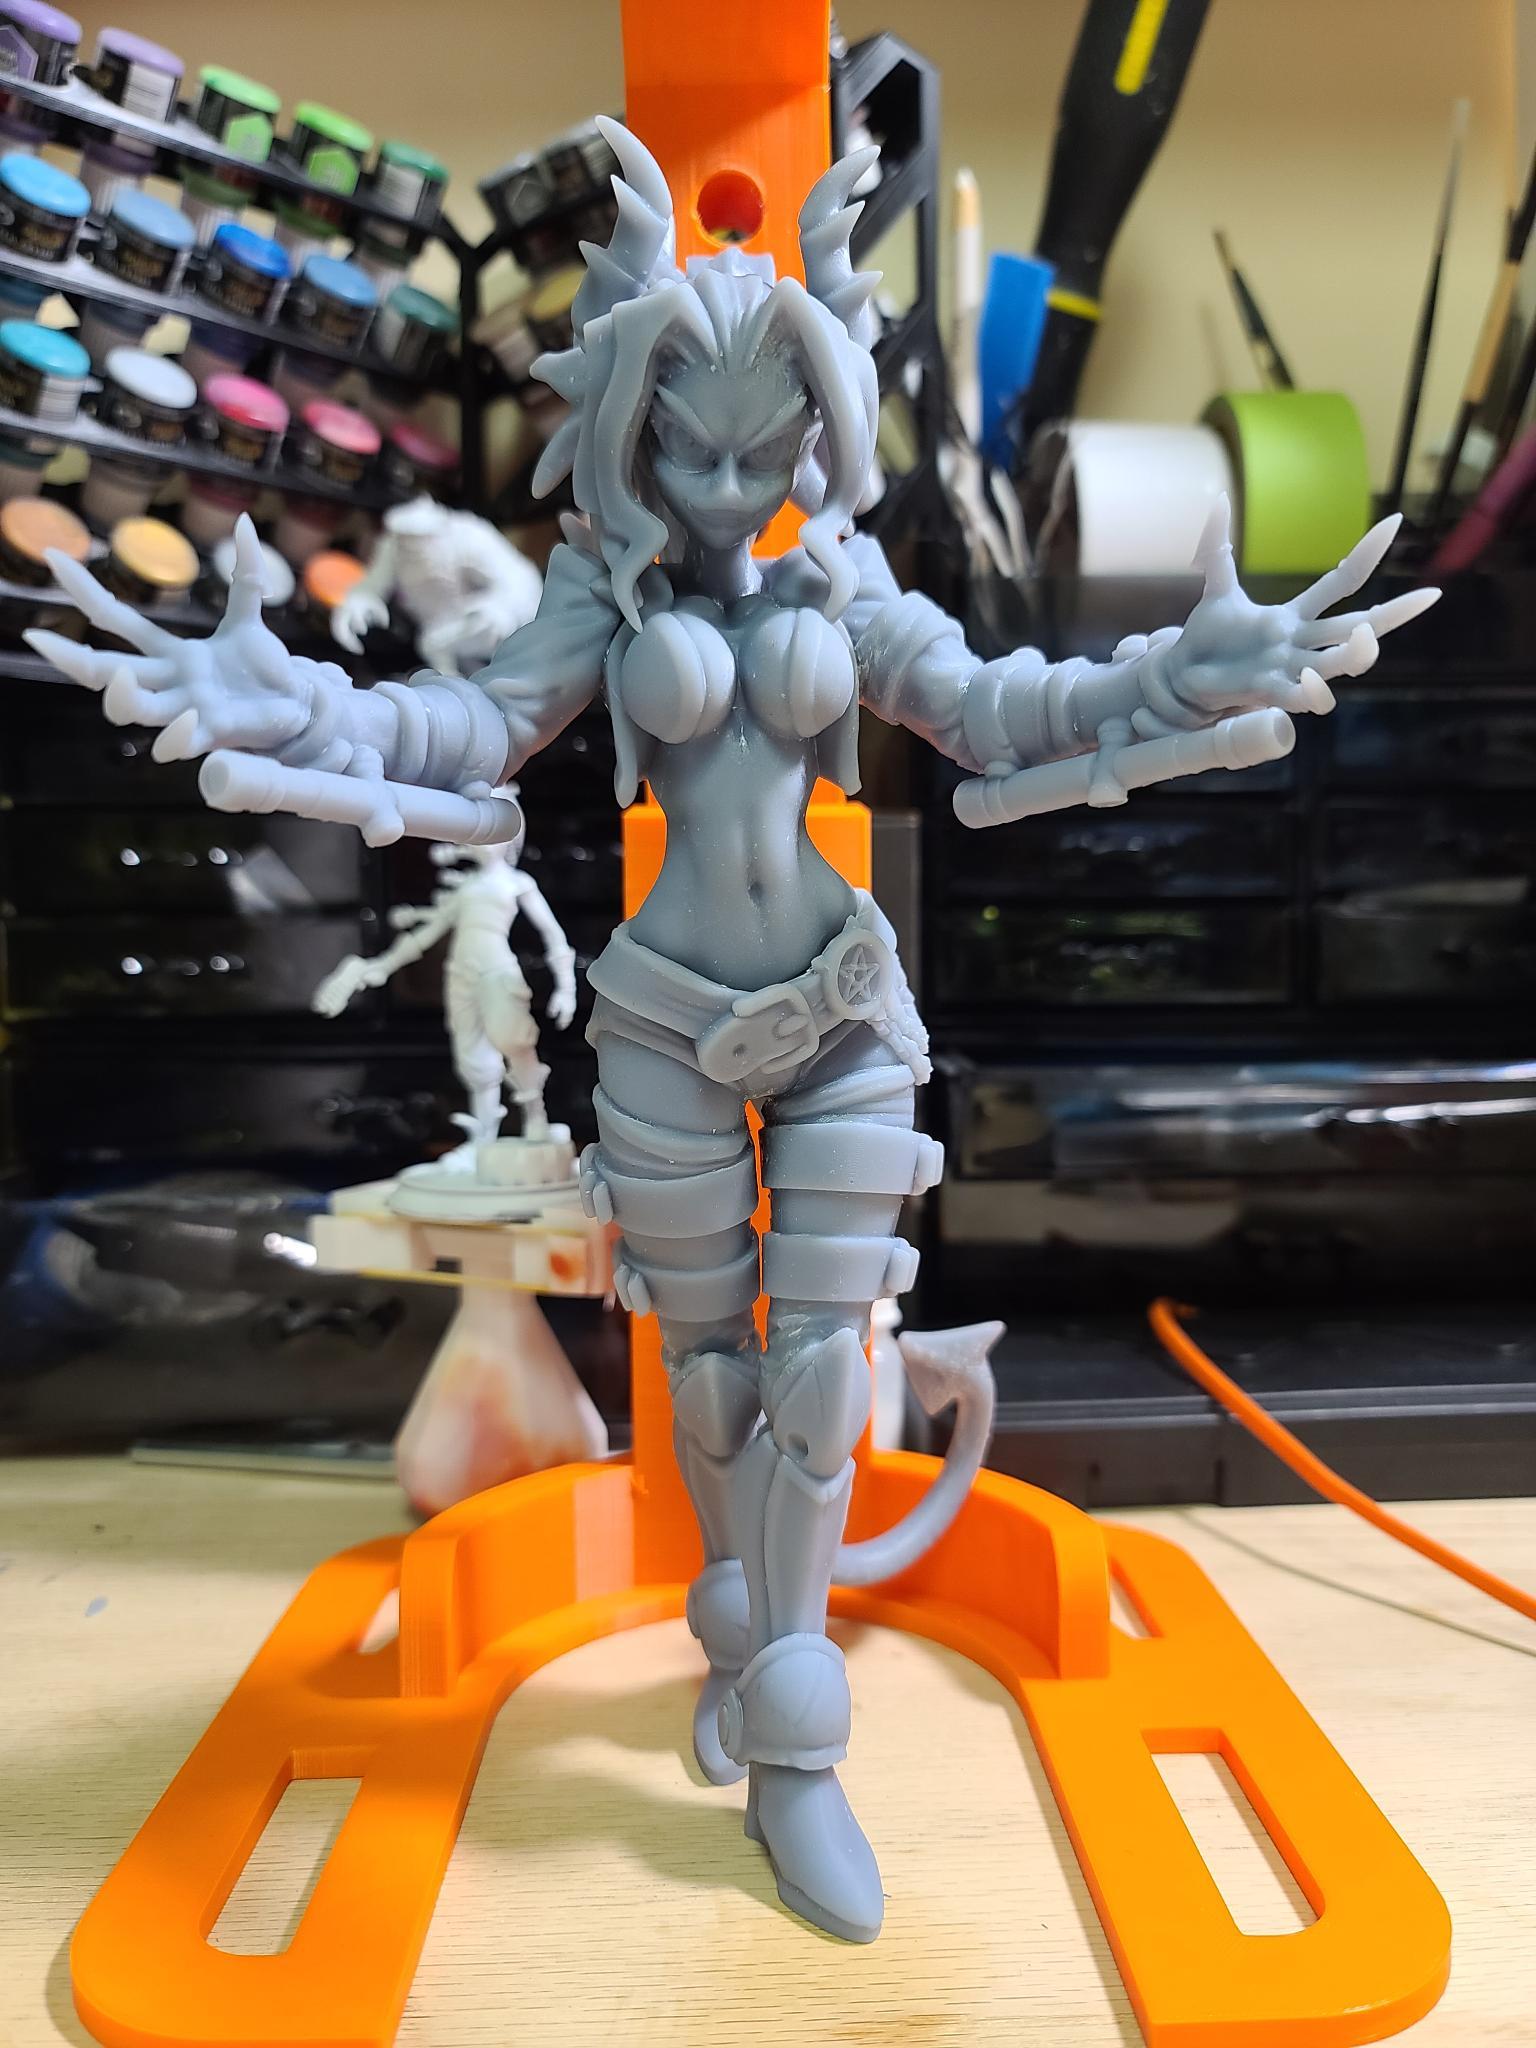
After the clean up, I used Vallejo White primer with my airbrush and let her dry for a few days while I started painting
another model. I didn't take a picture of the primed model(oops).
After the primer dried over a few days, I airbrushed my basecoat of Privateerpress Formula P3 Black.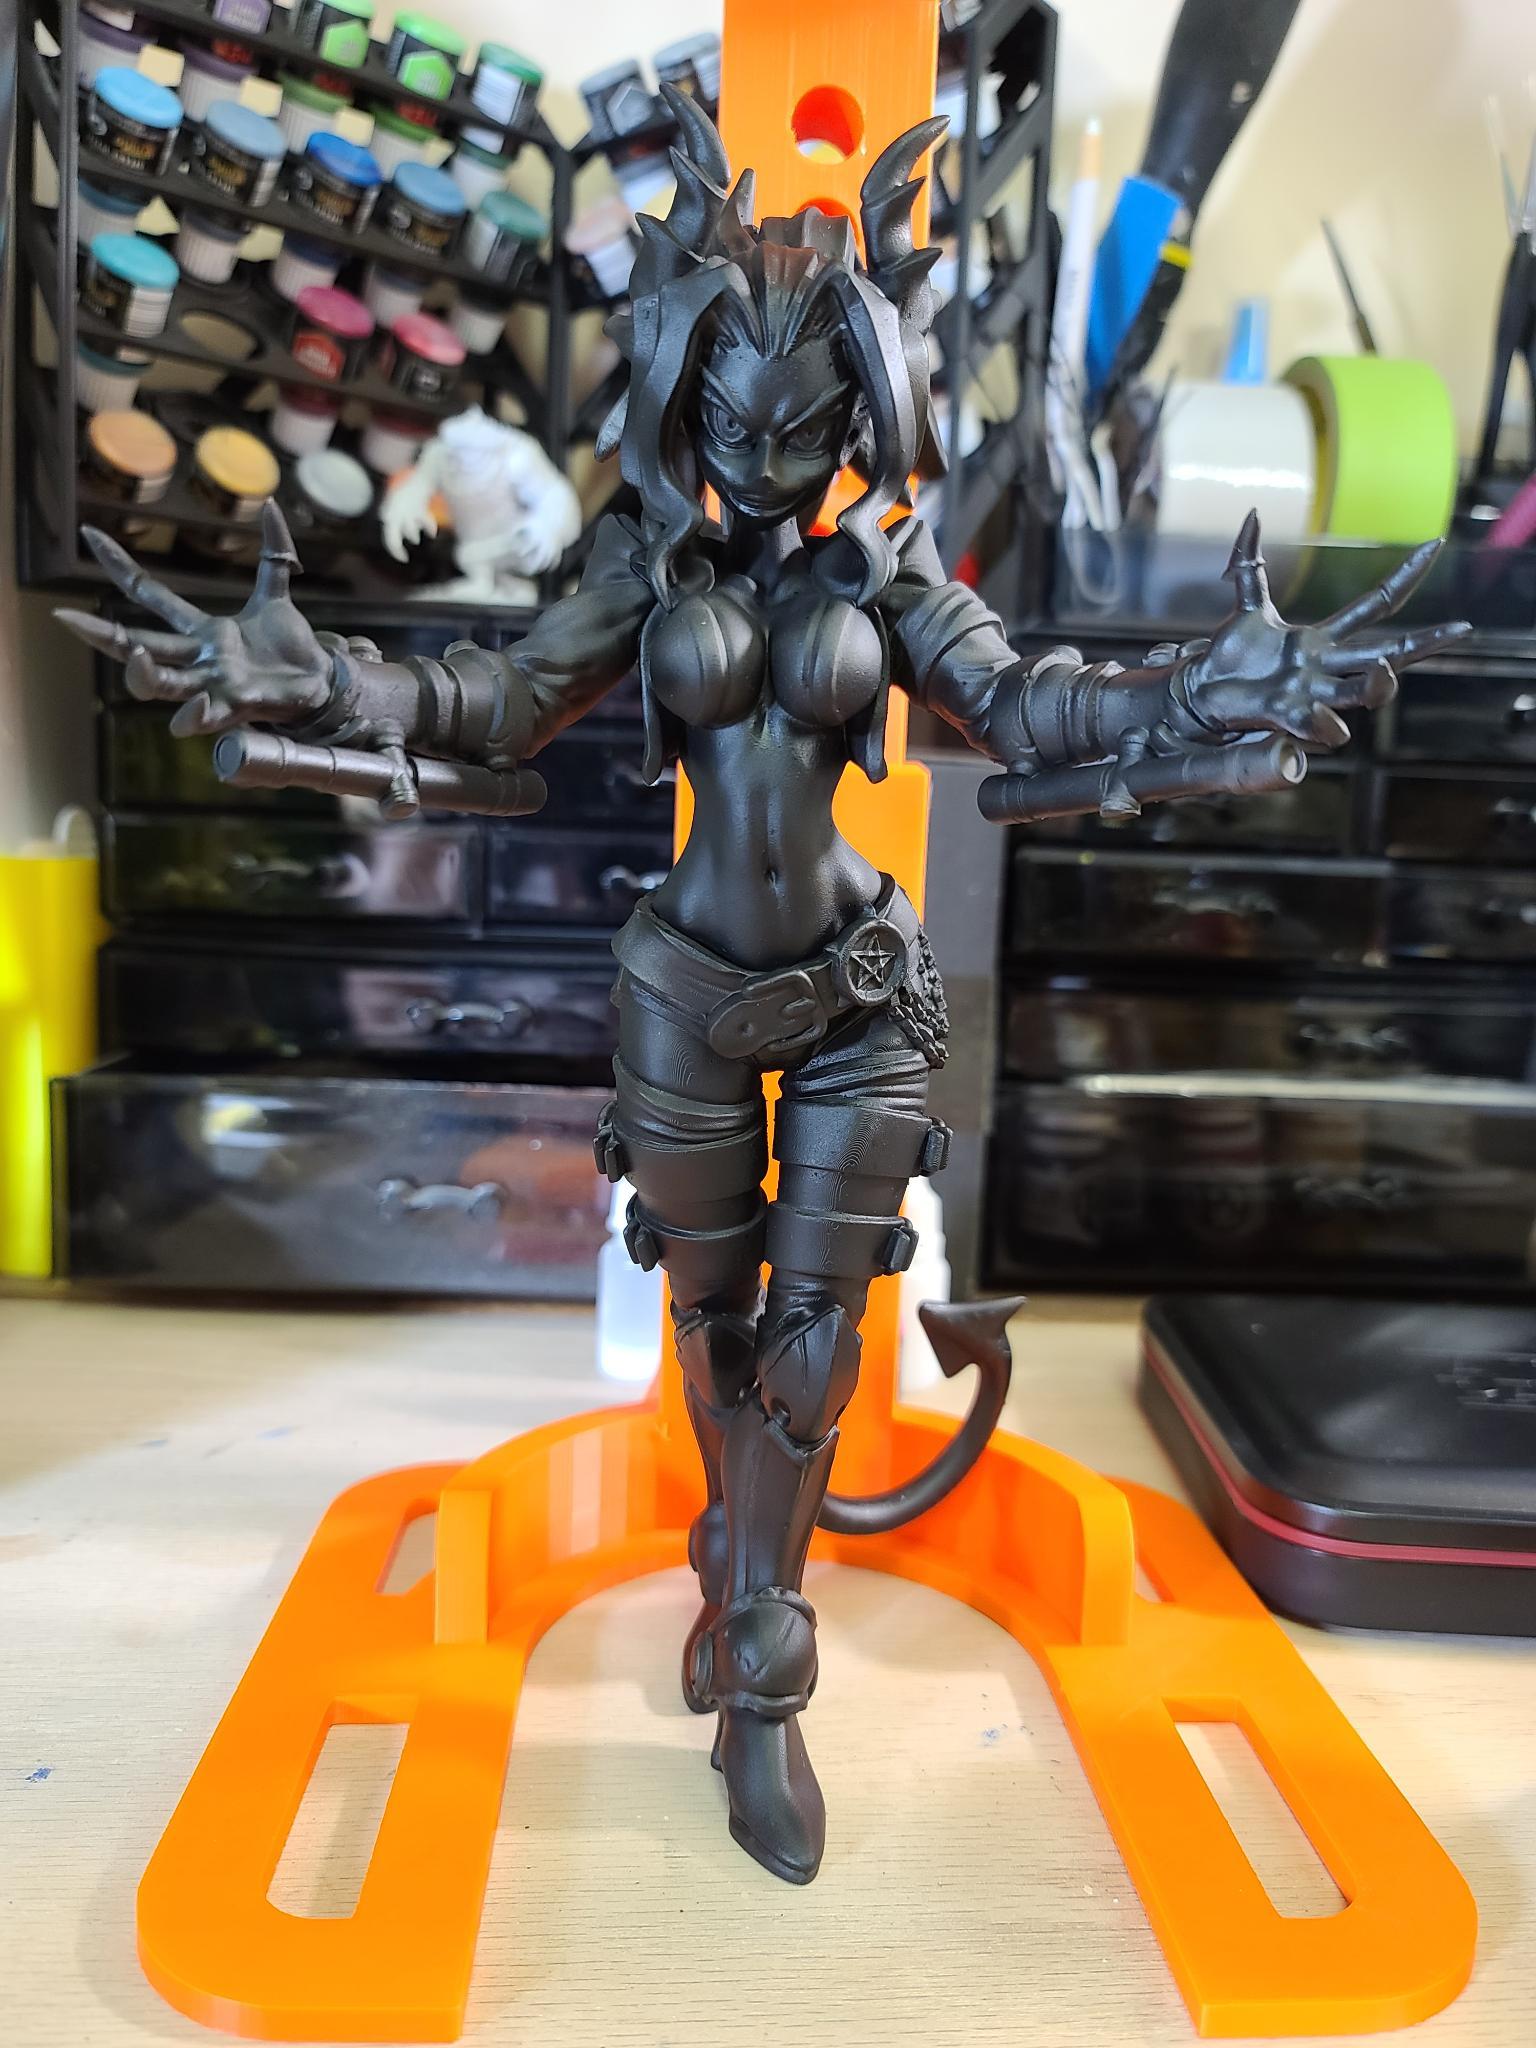
I thought of leaving her with the primer and going into the main colour I was going to use, but decided the skin would be to bright. I really wanted a dark red/purple look. After testing with the Purple Worm mix into the main Cambion Crimson colour, I decided to go pure Cambion Crimson instead. Cambion Crimson just looked perfect on its own. I will make the shadows using Purple Worm and black.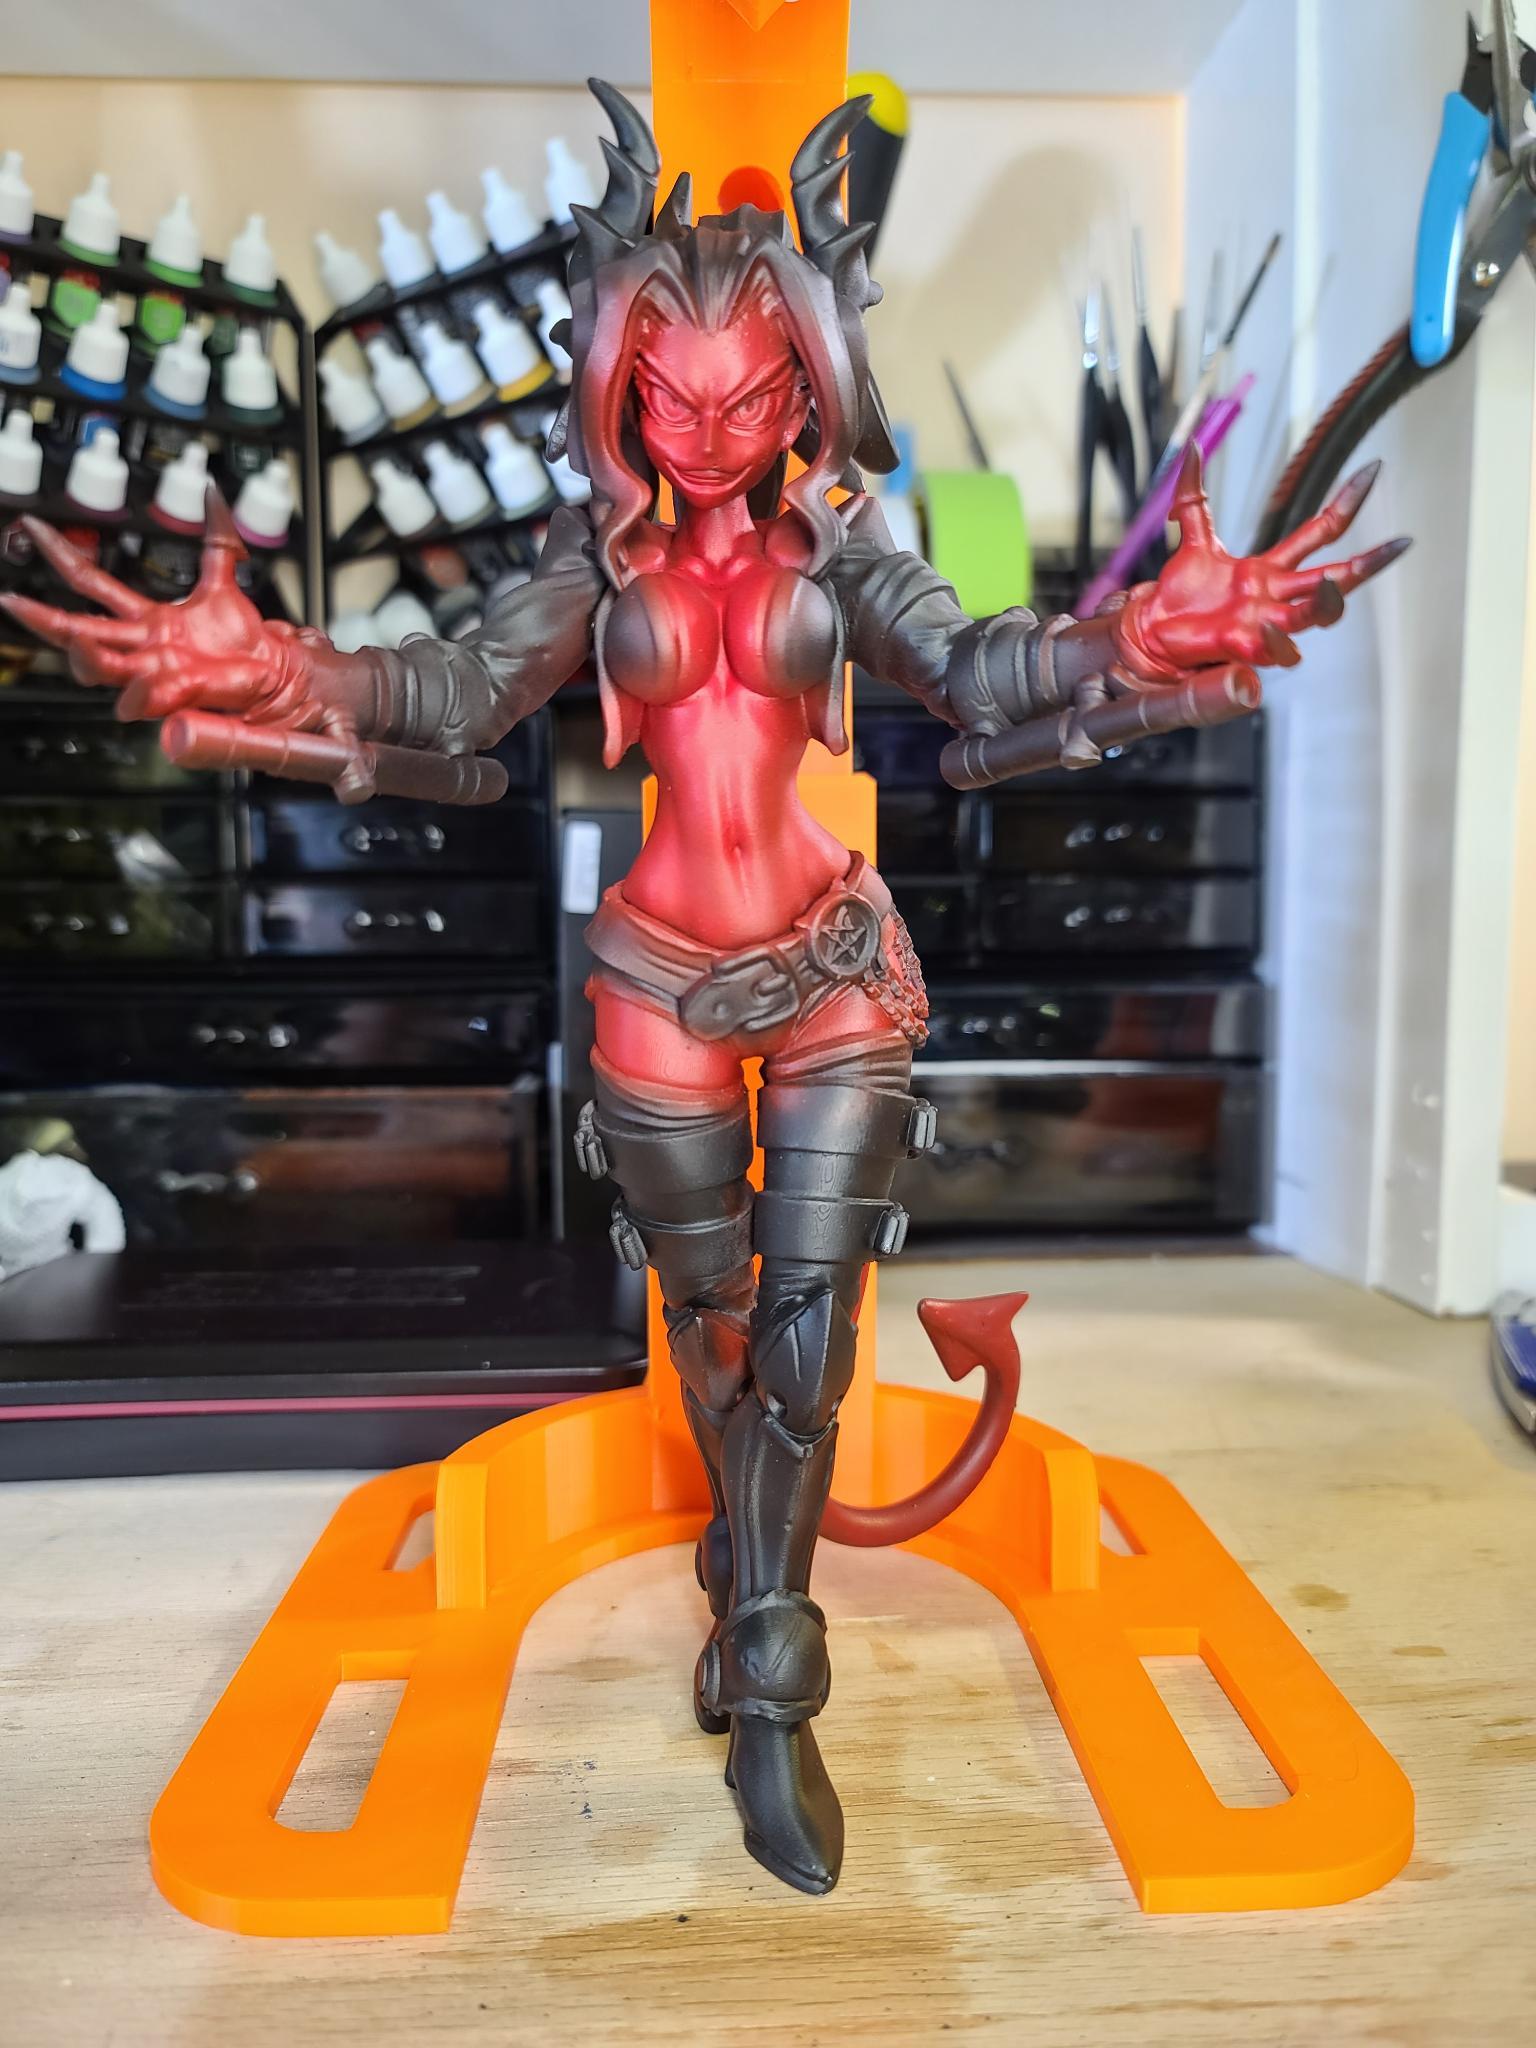
Went into the leather parts and the jacket with some Owlbear Brown and did the base hair colour as Frost Blue. Re-touched the skin with Cambion Crimson.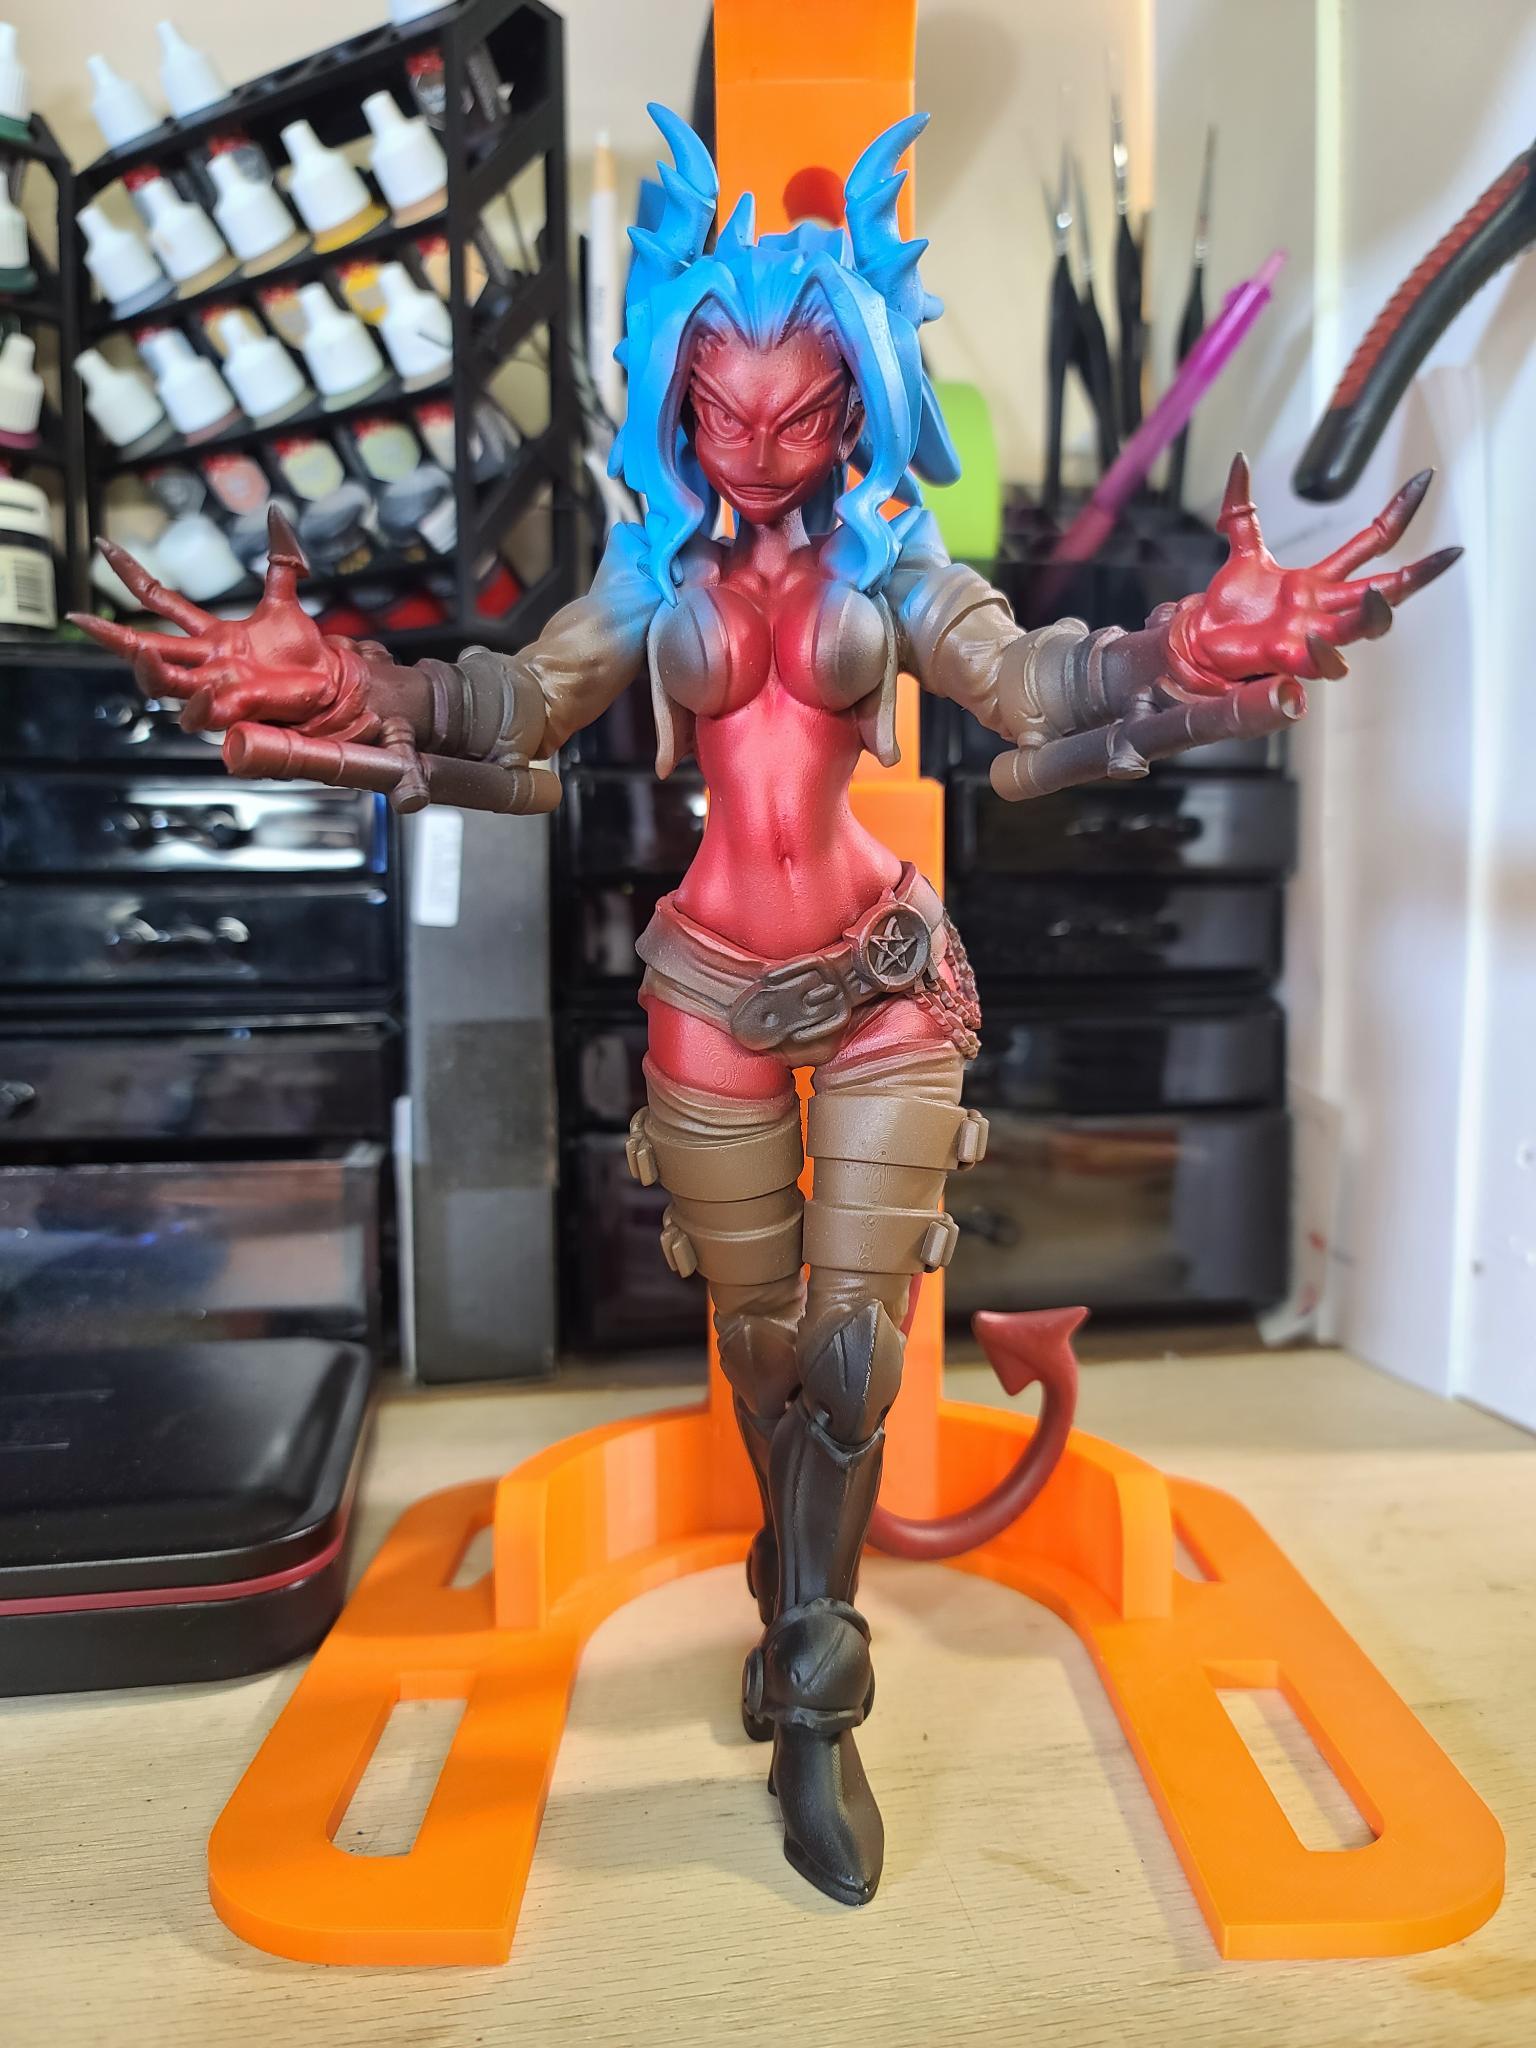
Darkened the hair and built up some shadow. Shadowed the stomach hips and back. Retouched the skin leather and some parts that got to much overspray. To not have to use a brush for the large stuff.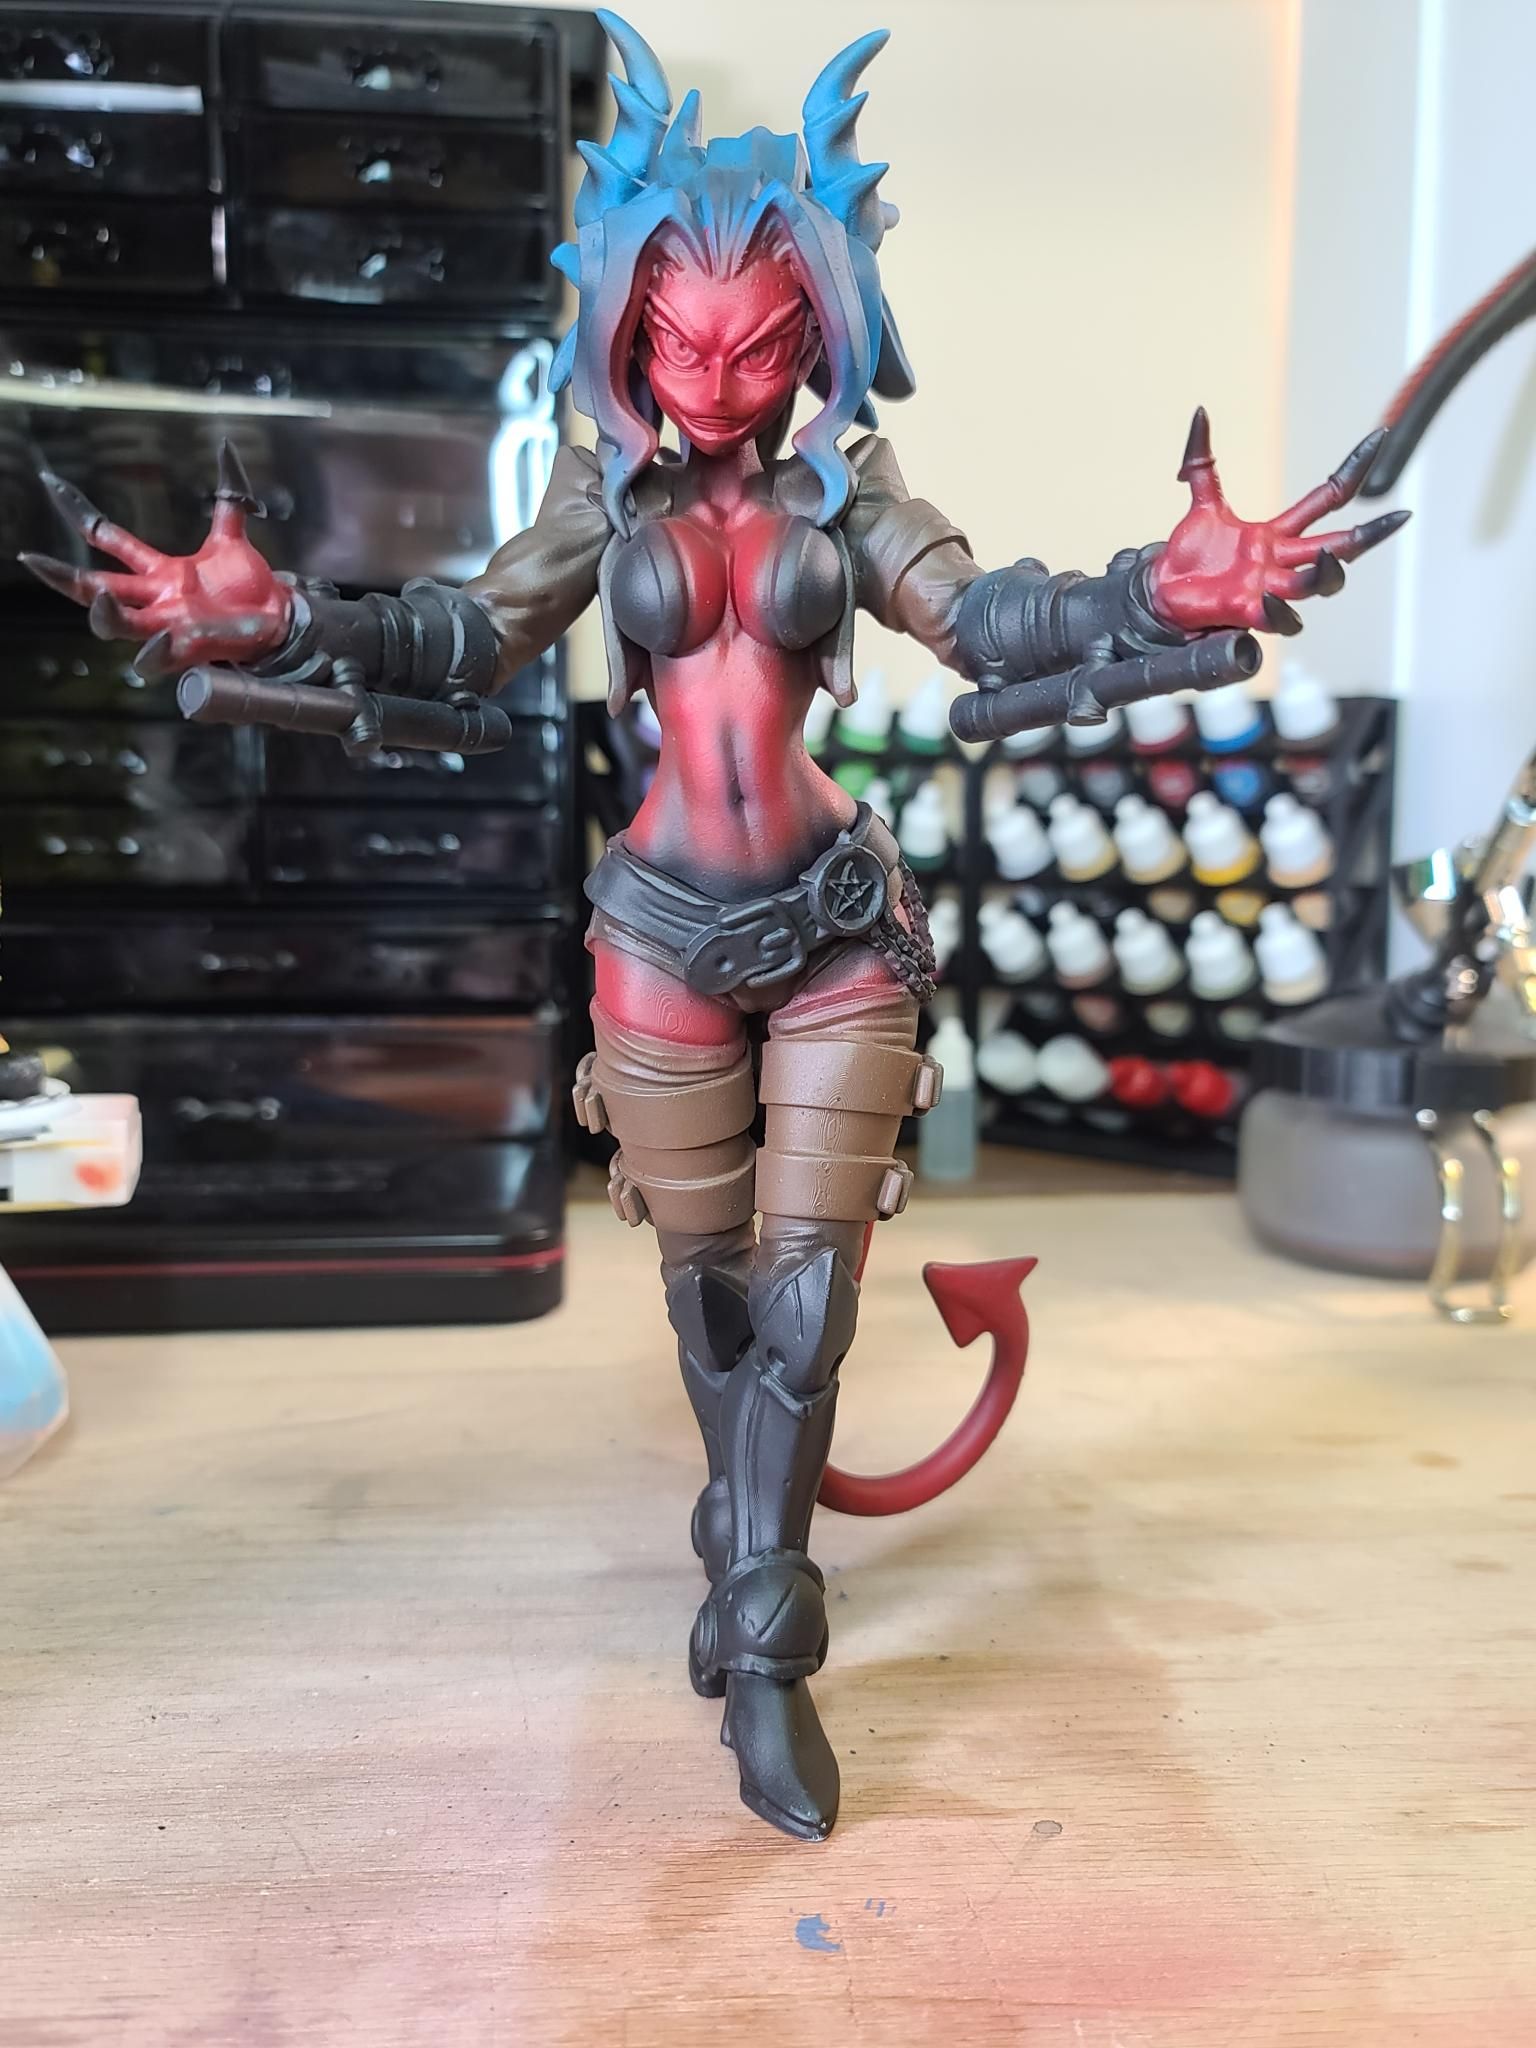
Built up the tones in the face, eyebrows and did the eyes and teeth. Painted the thigh straps and belt.
[Need to touch up the skin tones and stomach shadows to match the face]
Lots of prints in the works. Need to work on the belt leather shadows.
Will post updates soon, since this one is missing some work.